|
猜你喜欢: 家庭插花不再难 漂亮纸艺花朵和花瓶制作教程图解 如何用卡纸DIY精美栀子花手工花图解教程 百合花的简单折纸教程 手工制作卷纸清新玫瑰花纸艺制作教程 超美玫瑰百合礼品盒折纸 情人节完美包装盒的折法 精美折纸作品欣赏莲花与青蛙 PhamHoangHai手工折纸樱花的折法教程 简易玫瑰花的折纸方法 铃兰花折纸实拍教程 十万吨情缘中太阳花的折法 |
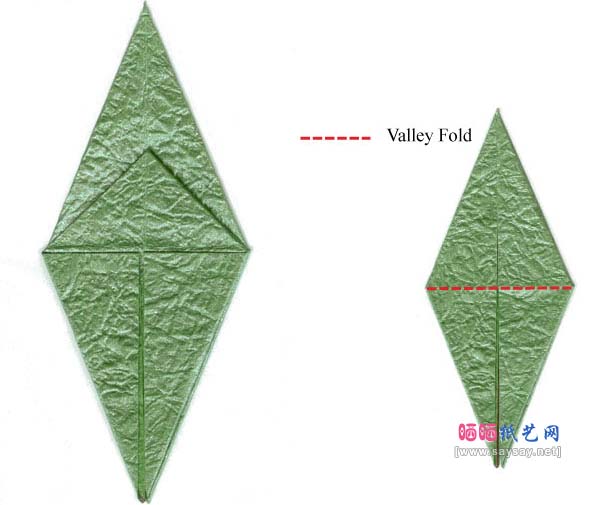
27.Your bird base is now completed.Prepare a valley-fold.
28.Fold down the top layer by applying the valley-fold along the red dash-line of the step #27.
29.Turn the model over.
30.Apply the same valley-folding of the step #27 to the top layer.
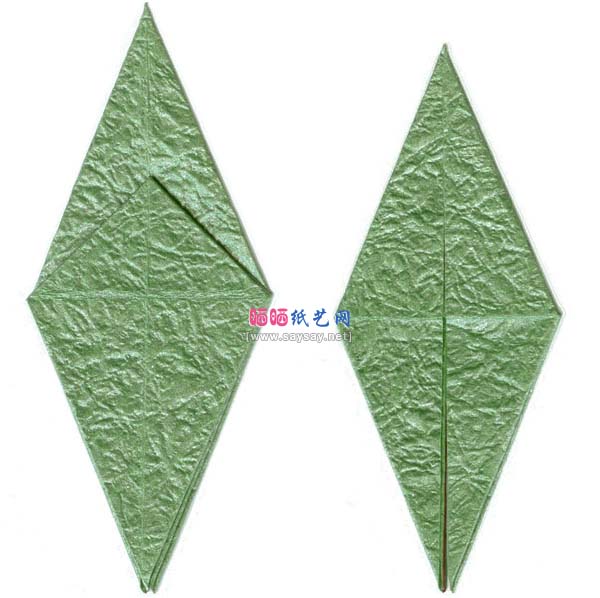
31.Rotate the paper by 180 degrees and then perpare for a valley-fold.
32.Apply the valley-fold. Repeat this valley-fold to all four layers. Be sure to valley-fold only the left side.

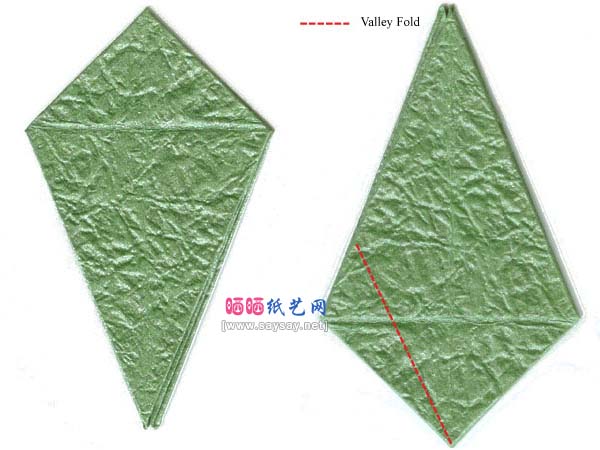
33.You will be end up with a shape of rhombus.Prepare for a valley-fold.
34.Fold down the top layer using the red dash-line shown in the step #33.

35.Turn the model over and apply the same valley-folding of the step #34.
36.The picture of the model is shown here after the step #35.


")