|
猜你喜欢: 如何制作优雅的纸艺兰花 简易康乃馨折纸图解教程-儿童折纸系列 礼品包装的装饰纸花制作方法 半边莲折纸教程图解 纸艺蝴蝶兰手工折纸实拍图文教程 喇叭花折纸教程图解 逼真的百合花折纸教程 纸艺花制作芍药花手工折纸实拍图解教程 PDAuria的组合折纸非洲菊的折法图谱教程 铃兰花折纸实拍教程 |
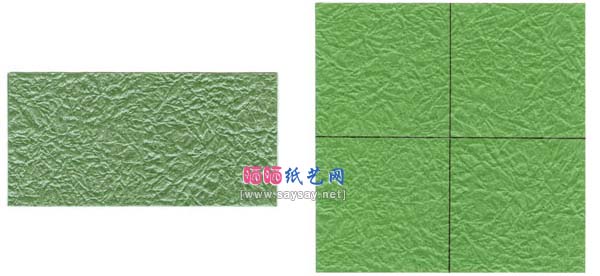
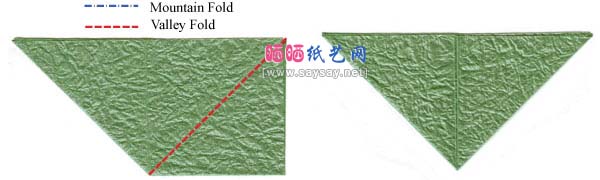
3.Rotate the paper by 90 degrees and fold the paper in half.
4.Unfold the paper and draw a line on the crease.
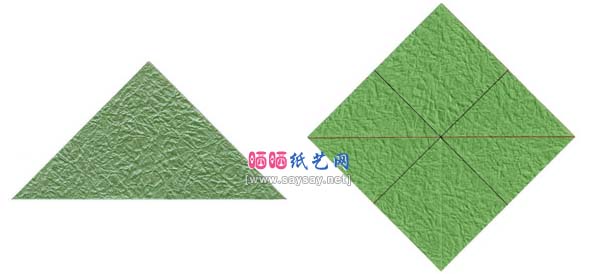
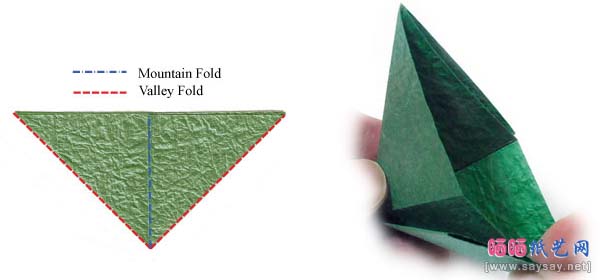
5.Rotate the paper by 45 degrees and then fold the paper in half.
6.Unfold the paper and draw a red line on the crease.
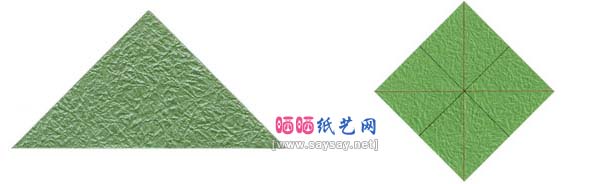
7.Rotate the paper by 90 degrees and fold the paper in half.
8.Unfold the paper and draw a red line on the crease.
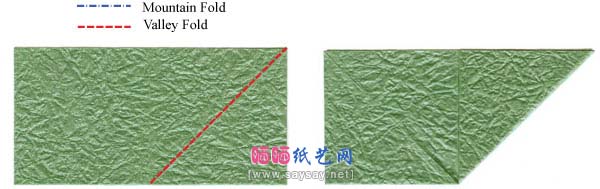
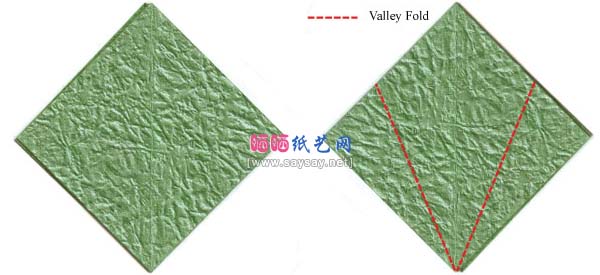
9.Rotate the paper by 45 degrees and fold the paper in half. Prepare for a valley-fold.
10.Valley fold according to the step #9.
11.Turn the paper over and prepare for a valley-fold on an exisiting crease.
12.Valley fold according to the step #11.
13.Open the paper from inside to make a so-called "square base".
14.The square base is ready. Notice that open-sides are directed upward.
15.Rotate the base by 180 degrees so that open sides are directed downward. Prepare for two valley-folds.
16.Apply two valley-folds according to the step #15.


")