|
猜你喜欢: 手工制作卷纸清新玫瑰花纸艺制作教程 漂亮的卷心玫瑰花折纸视频教程-玫瑰花的折法 美丽娇艳的双色菊花折纸图解教程 纸艺花diy-牡丹花制作教程 精致12瓣纸花朵手工折纸DIY教程 纸艺花制作大全 皱纹纸满天星的做法 纸艺花制作教程 喇叭花折纸教程图解 Kalei Anne Lundberg杜鹃花折纸图解教程 两种简单的四叶花折纸图片教程 含苞欲放的玫瑰花蕾手工折纸实拍图解教程 |
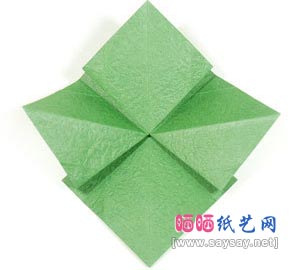
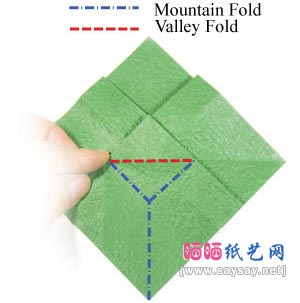
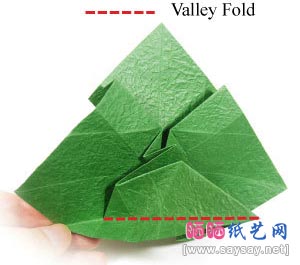
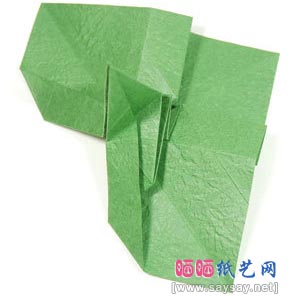
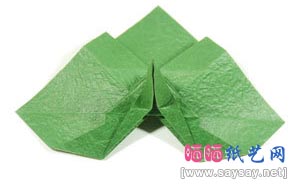
35.Turn the model over again.
Prepare for a valley-fold followed by three mountain-folds.
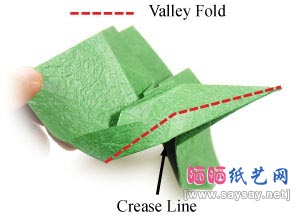
36.Apply the valley-fold of the step #35 by rotating the lower portion of the paper by 90 degrees.
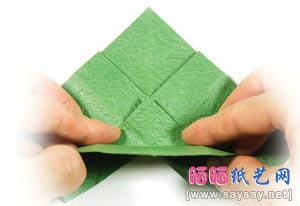
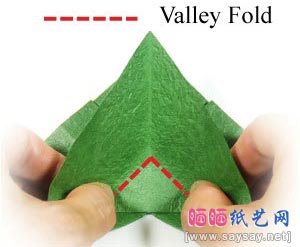
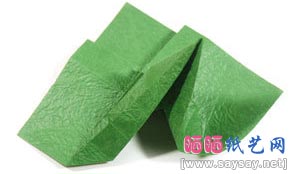
37.Continue rotating it up to 180 degrees.Prepare for a valley-fold.
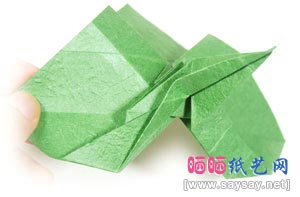
38.Apply the valley-fold.
39.The edge line should match exactly with the layer below.
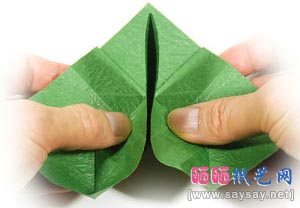
40.Let's concentrate on the left side of the model.Prepare for a valley-fold.
41.Apply the valley-fold of the step #40.
42.Repeat the steps #40-41 to the right side too.
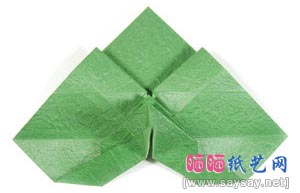
43.This is the top view.
44.Concentrate on the right side.Prepare for a valley-fold.
45.Apply the valley-fold of the step #44.
46.Repeat the steps #44-45 on the right side.
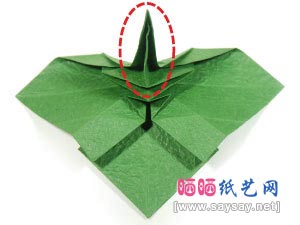
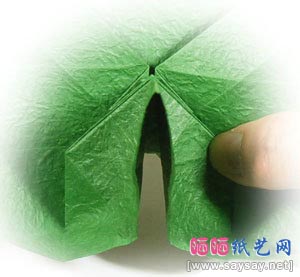
47.Rotate the model by 180 degrees.Concentrate on the region enclosed with a dotted ellipse.
48.Open the region a little.Prepare for a set of valley and mountain folds.


")