|
猜你喜欢: 精美绣球花折纸图解教程 皱纹纸手工制作带叶玫瑰花的做法教程 纸艺花制作教程?睡莲手工折纸方法步骤 花卉纸艺制作卡纸DIY漂亮的木兰花折纸 美丽的耧斗花手工折纸图片教程 两款精美立体纸花制作教程 纸艺花手工制作教程 漂亮的郁金香组合折纸教程 星心花折纸图解教程 向日葵折纸图解教程-儿童折纸系列 纸艺花diy-牡丹花制作教程 |
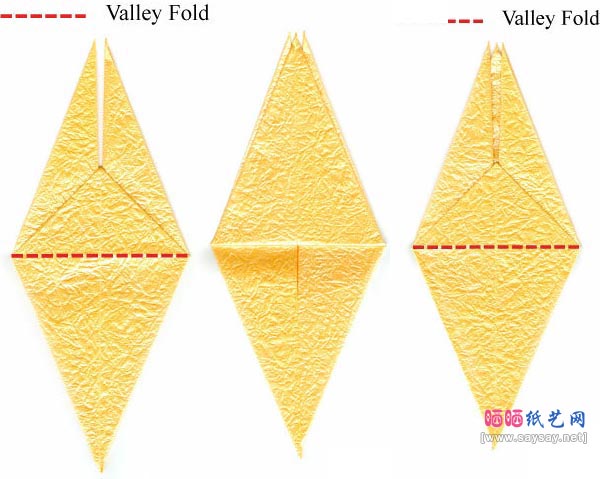
19.Apply the valley-fold according to the step #18.
20.Unfold all three valley-folds.
21.Let's begin so-called "petal fold". Lift the bottom corner upwards.
22.Continue lifting.
23.As you push the corner up, bring the edges in towards the middle and flatten them.
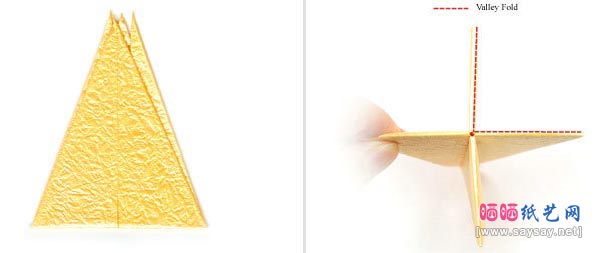
24.Now you completed the petal fold.
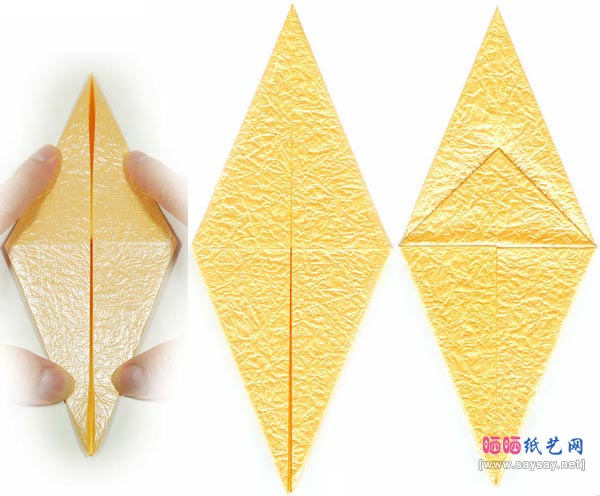
25.What we are going to do is to make a bird base and it is now half-done.
26.Turn the model over and apply the steps #20-24.
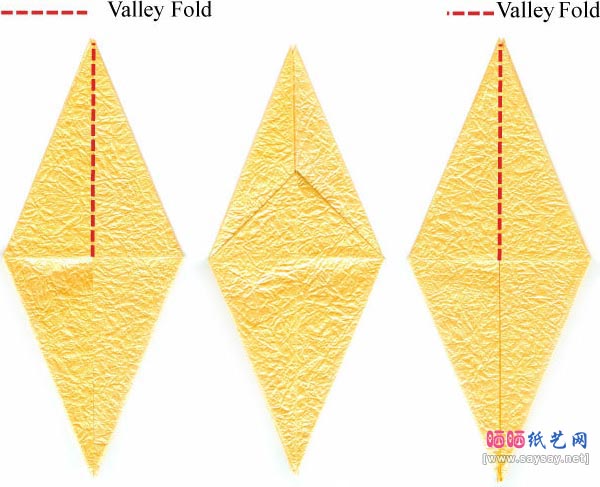
27.Your bird base is now completed.Prepare a valley-fold.
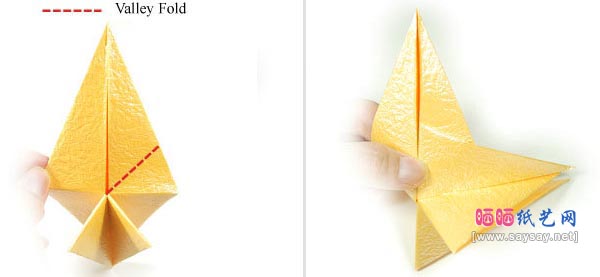
28.Fold down the top layer of right-side by applying the valley-fold along the red dash-line of the step #27.
29.Turn the model over.Prepare for a valley-fold.
30.Fold down the top layer of right-side by applying the valley-fold along the red dash-line of the step #29 Prepare for another valley-fold..
31.Apply the valley-fold of the step #30.
32.Apply the valley-fold of the step #30.
33.Apply the valley-fold of the step #32.
34.Open four sides to make a plus-sign figure.Prepare for a valley-fold along the L-shape line.
35.Apply the valley-fold of the step #34.Prepare for a valley-fold.
36.Apply the valley-fold of the step #35.


")